Lavender is easily one of the best additions to any garden, but it’s notorious for being a bit of a diva if you don’t treat it exactly right.

There’s nothing more frustrating than buying a beautifully fragrant, thriving plant, only for it to woody up, go floppy, or stop flowering entirely the moment you move it into a new container. It’s an absolute nightmare because you think you’re doing the right thing by giving it more room, but lavender hates having its roots disturbed and will pack it in if the new soil conditions aren’t perfect.
Getting it to thrive and keep producing those brilliant purple blooms all summer isn’t about luck; it’s about mastering a few specific potting rules that cater to its fussy nature. If you want to keep your plants happy and explosion-packed with scent all season, getting the repotting process right from the word go is a must.
When to repot lavender
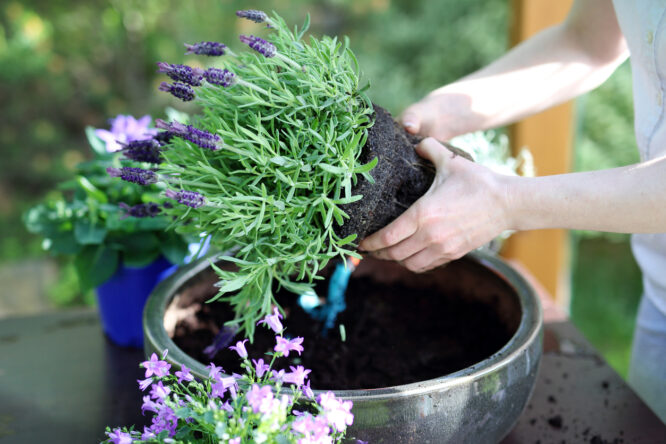
Early to mid-spring is the best window for repotting lavender, when temperatures are mild and the plant is just starting to push out new growth. This timing gives it an entire growing season to settle into its new home before anything demanding is asked of it, like producing flowers or surviving summer heat.
In milder climates, early autumn can also work as an alternative, but spring is generally the safer option for most people. The times to avoid are during a heatwave, a drought, or when the plant is already in full bloom, since repotting during any of these puts unnecessary stress on the plant at a point when it’s already working hard.
Choosing the right pot
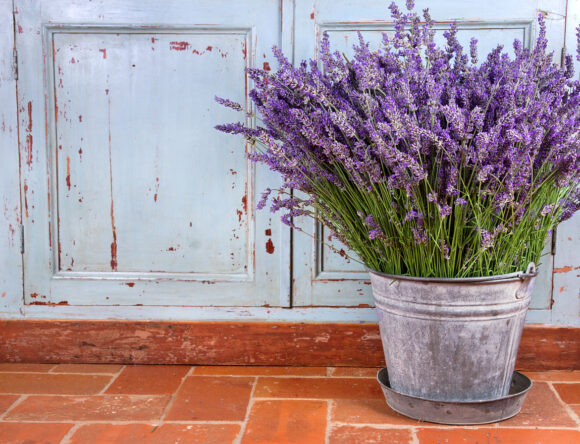
The new container should be around 2 to 4 inches wider than the current one, giving the roots a bit more room without overdoing it. Going too large is one of the most common mistakes people make, since a pot that’s much bigger than the rootball holds onto moisture for longer, which raises the risk of root rot.
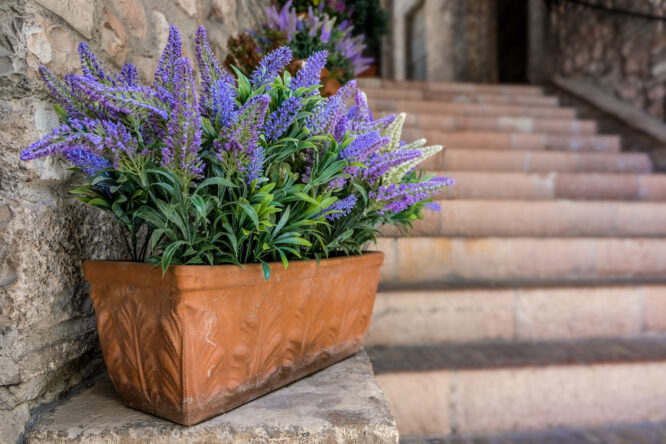
Terracotta is one of the best materials for lavender because it’s porous, allowing excess moisture to evaporate through the sides rather than sitting around the roots. Whatever material you go for, drainage holes at the bottom are non-negotiable, since lavender absolutely cannot tolerate sitting in waterlogged soil.
How to actually repot it
Start by filling the bottom of the new container with a well-draining potting mix, which for most standard soils means amending it with coarse sand or pumice to improve how quickly water moves through. Once that’s in place, carefully remove the lavender from its current pot.
Gently loosen any roots that have started circling around the outside of the rootball, and trim away anything dead, damaged, or blackened. Place the plant in its new container at the same height it sat before, backfill with more potting mix, firm it lightly around the roots, water thoroughly to close any air pockets, and move it somewhere sunny with good airflow.
How often lavender needs repotting

Unlike fast-growing plants that seem to outgrow their pots in a matter of months, lavender is quite happy being a little rootbound and doesn’t need repotting frequently. Every two to three years is about right for most container-grown lavender, or whenever the roots have clearly filled the pot.
Repotting too often can actually do more harm than good, since lavender prefers a settled environment and doesn’t particularly enjoy being disturbed unless it really needs to be.
Signs your lavender is ready to be repotted
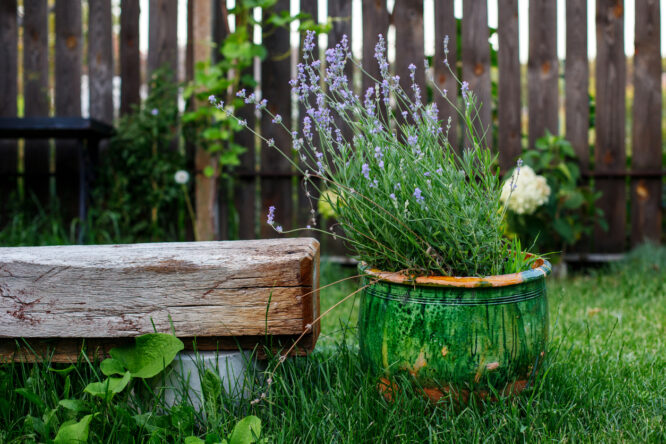
The clearest sign is roots poking out through the drainage holes at the bottom of the pot, which means the plant has run out of room to grow downward. Other signals include soil that dries out almost immediately after watering, noticeably slower growth than usual, or fewer flowers than in previous seasons.
A plant that’s become top-heavy and keeps toppling over, or one where water runs straight through the pot and out the bottom without being absorbed, is also telling you it needs more space. If you tip the plant out and find the rootball with almost no soil remaining, that’s a clear sign it’s long overdue a move.
How to care for lavender after repotting
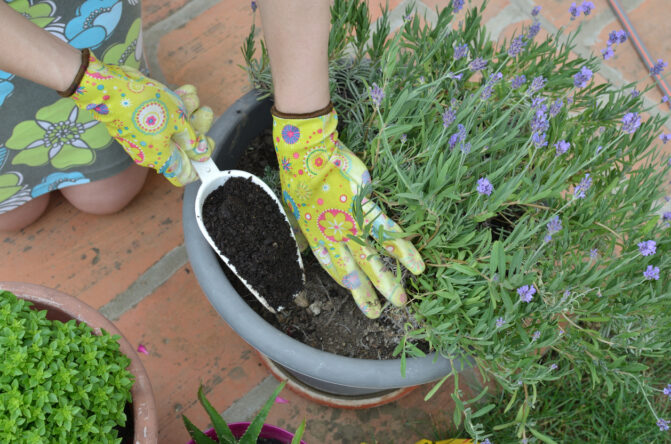
Lavender is famously drought-tolerant once established, but a freshly repotted plant needs more consistent moisture while it adjusts to its new environment. For the first few weeks, check the soil regularly and water when the top inch feels dry, rather than leaving it on its usual schedule.
Hold off on any heavy pruning or fertilising during this settling-in period. Giving the plant a few weeks of calm before making any other changes allows it to redirect its energy into establishing new roots rather than dealing with multiple demands at once. Once it starts putting out new growth, you can return to your usual care routine.
The mistakes most people make when repotting
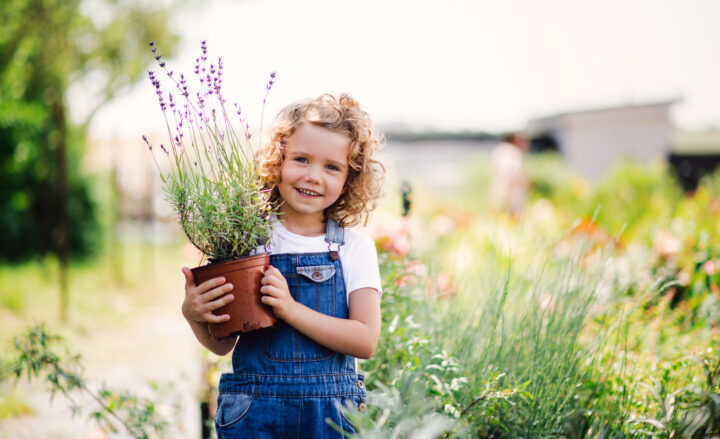
Choosing a pot that’s too big is the most common error, and it tends to come from a well-meaning instinct that more space must mean faster growth. In reality, an oversized pot just holds excess moisture around the roots and creates the conditions for rot rather than strong growth.
Using the wrong soil mix runs a close second. Lavender needs genuinely well-draining compost, and a heavy, overly rich mix will cause problems even if everything else is done correctly. Fertilising too soon after repotting is also worth avoiding, since the plant needs time to settle before it’s ready to process any extra feeding without becoming stressed.