
There’s nothing quite like firing up the grill the moment the British sun decides to make an appearance.
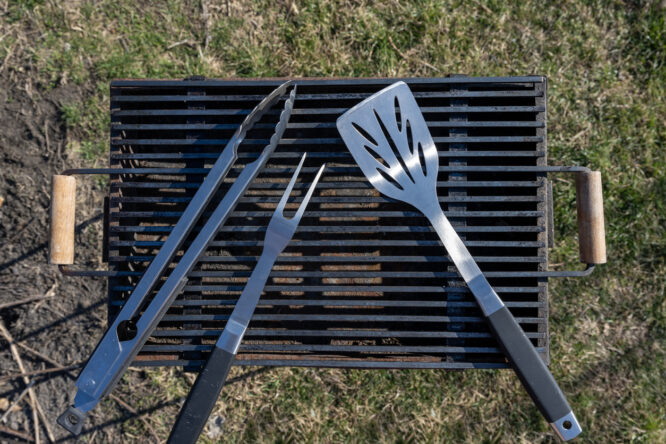
Of course, the worst part of the weekend is always facing the aftermath the next day. Staring down a barbecue covered in burnt-on fat, charred meat bits, and a thick layer of grease is enough to make anyone want to just pop the lid back on and pretend it isn’t there. However, leaving all that grime to fester isn’t just unhygienic; it completely ruins the flavour of your next meal and can actually shorten the life of your kit.
The good news is that sorting it out doesn’t have to mean hours of back-breaking scrubbing with useless sprays. With a few straightforward tricks and the right tools, you can get your grill looking brand new with minimal fuss, whether you’re dealing with a classic charcoal kettle or a massive gas setup.
Start with a burn-off before you touch anything.
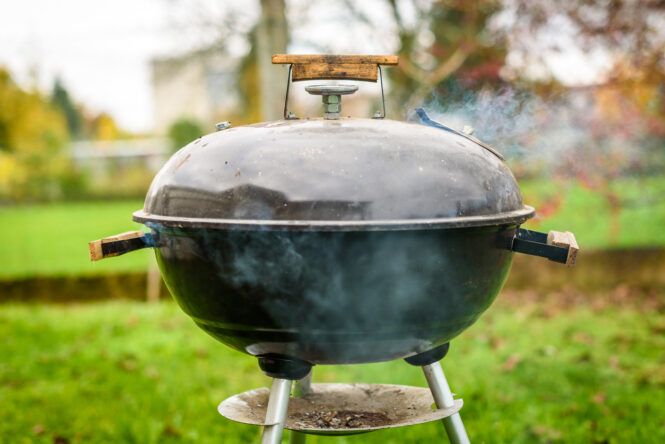
The single most useful thing you can do before any scrubbing is to heat the barbecue right up and let the heat do the initial work. Open all the vents, get it as hot as it’ll go, close the lid, and leave it for a good hour. What you’re doing is carbonising all the built-up grease, bacteria, and food residue so it becomes easier to remove. At high temperatures, the gunk essentially turns to ash, and ash is much easier to get off than sticky old fat.
This works for both charcoal and gas barbecues. For gas, put all the burners on full. For charcoal, light a decent amount and let it run. Don’t try to cook anything during this process, it’s purely about cleaning, and the results are worth dedicating a bit of time to.
Scrub the grates once everything’s cooled slightly.
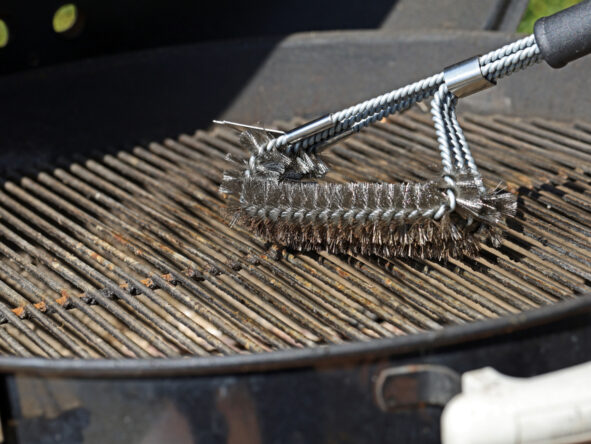
Once you’ve done the burn-off, the grates need a good scrub while they’re still warm enough to make it easy but cool enough to handle safely. A wire grill brush is the obvious tool for this, and it does work well. Just check it over before you use it and replace it if the bristles look loose or worn, you don’t want them ending up in your food. If you’d rather skip the wire brush altogether, a ball of scrunched-up heavy-duty tin foil works surprisingly well and costs nothing.
Go over the grates firmly and give the inside surfaces of the barbecue a rub down too. You’ll be surprised how much comes off. A washing-up scourer is another option if you find it easier to grip. The main thing is to get the loose carbonised residue off before it cools and hardens again.
Rinse everything down properly.
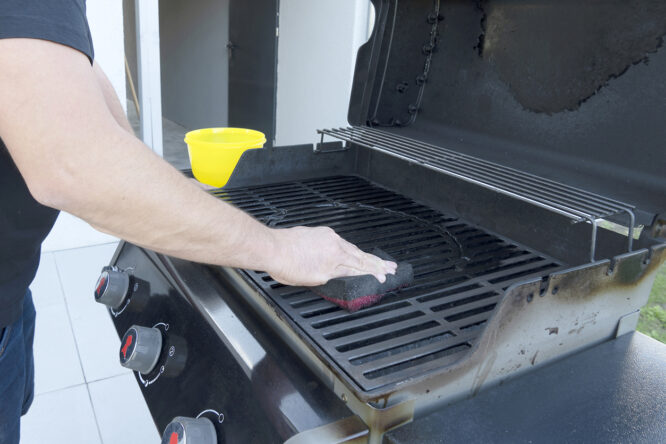
After scrubbing, everything needs a rinse. A jet wash or a strong garden hose works really well for this if you have one, and it’s fine to use on most metal barbecues. It’ll get into the corners and really clear things out. Just be gentle around the burners on a gas barbecue, rather than blasting them directly.
It’s important to know that ceramic barbecues, the egg-shaped ones, shouldn’t be jet washed. The ceramic absorbs moisture and can crack when it’s heated again afterwards. For those, stick to wiping down with cloths and using water more carefully.
Deal with the ash pan.
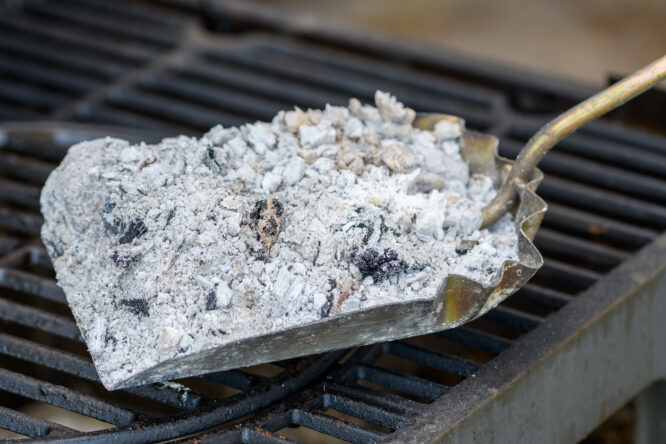
The ash pan at the bottom is easy to forget, but important to do carefully. Don’t rush to empty it straight after cooking because it can hold heat for much longer than you’d think, sometimes over 24 hours. Once you’re certain everything’s cold, tip the ash into a metal bucket rather than a plastic bag.
Cold ash from additive-free charcoal is actually useful in the garden. It contains potassium, which is good for plants, so you can sprinkle it around rather than throwing it away. Or just pop it in your green waste bin if you’d rather not deal with it.
Clean the outside of the barbecue.
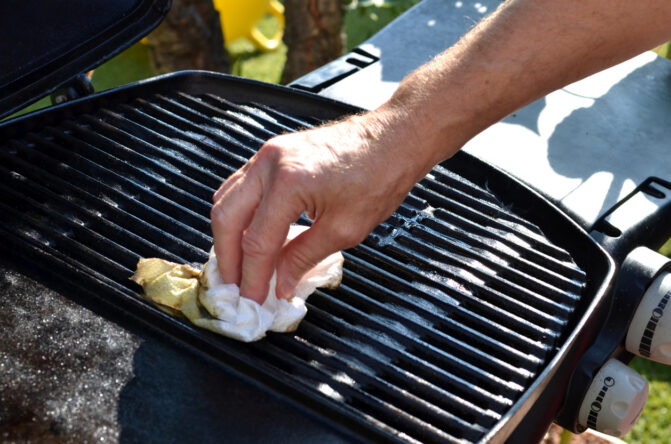
The inside gets all the attention, but the outside collects a fair bit of baked-on fat too, especially around the sides and bottom. A barbecue degreaser from the supermarket works well for this. Spray it on, leave it for a few minutes, and wipe it off with a cloth. Stubborn spots might need a second go.
Don’t use your wire brush or foil ball on the outside, especially on any enamel-coated surfaces. You’ll scratch them, and it’ll look worse than before. Stick to cloths and a bit of elbow grease, and a microfibre cloth is good for giving everything a final polish once it’s clean.
Avoid chemical cleaners on the inside cooking surfaces.
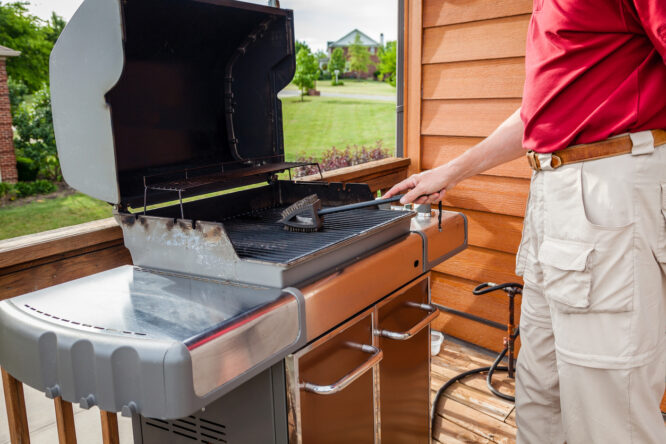
It’s tempting to spray something strong inside the barbecue to cut through the grease, but it’s not a great idea. Chemical residue can linger on the surfaces that your food sits directly on, and you don’t really want that. The burn-off method does the job without any of that risk, and it’s more effective anyway because the heat reaches everywhere rather than just where you spray.
Hot soapy water and an antibacterial spray are fine for the exterior surfaces if you want to give them a wipe down, but keep the harsh stuff away from the grill grates and the inside of the cooking area.
Keeping it clean through the summer is much easier than a big annual job.
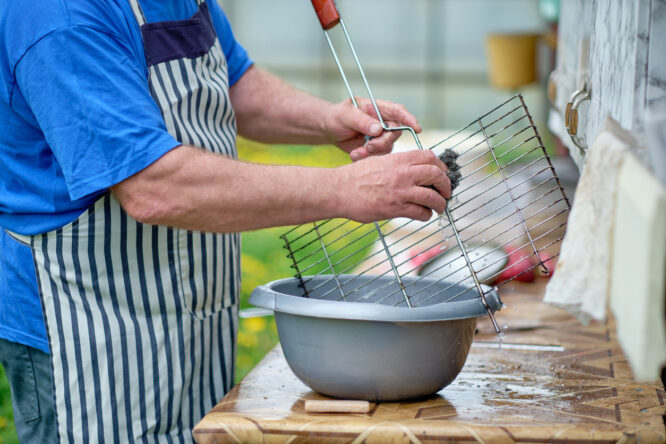
The reason end-of-season cleaning is such a task is usually because nothing was done in between. Cleaning the grates after each use while they’re still warm takes about five minutes and makes a huge difference to how easy it is to manage overall. Residue that’s just been cooked is easy to remove. Residue that’s been sitting there for three months is not.
You don’t have to do a full soak every time. A quick rub over with foil or a brush while the grates are still hot is enough to stop things building up. Some people actually like letting their grates develop a light layer of seasoning from baked-on fat, similar to how a cast-iron pan builds up over time, so they just wipe rather than scrub thoroughly. That works fine as long as you’re still removing the loose bits.
Getting your grill brush right is important.
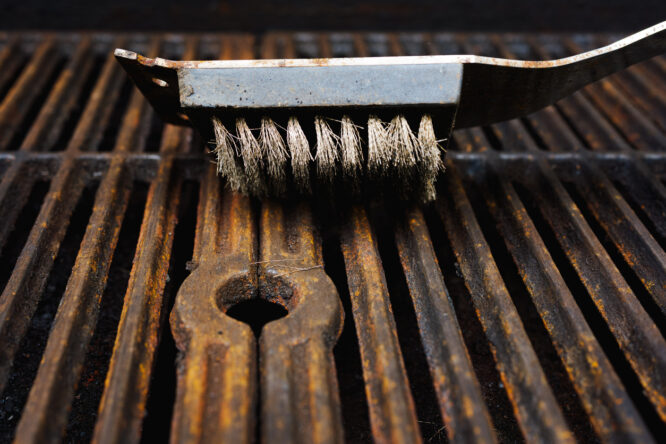
A grill brush is a basic bit of kit, but consider spending a little more to get a decent one rather than grabbing the cheapest option. Look for stainless-steel bristles that feel firmly attached rather than loosely bound, and replace the brush at the start of each season or sooner if you’re using it regularly.
Before each use, give it a quick look over to check the bristles are intact. If any are loose or the brush is starting to fall apart, replace it. A three-sided brush that can clean across, between, and underneath the grates is more useful than a flat one if you want to get into all the spots that need attention.
What to do if there’s mould on the grill
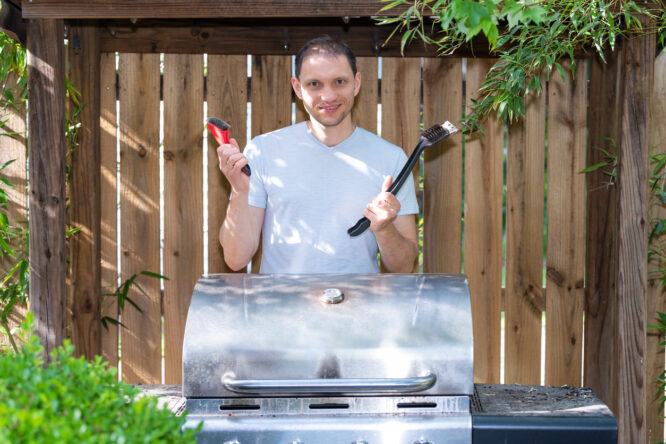
Mould on a barbecue that’s been stored over winter is really common, especially if the lid was left on while the metal was still damp. It looks alarming, but it’s not the end of the world. The burn-off method handles it well. Get the temperature up high and hold it there for an hour, and the heat will deal with the mould. Follow it with a good scrub and a rinse, and it’ll be fine to cook on.
The main thing is not to skip straight to cooking without cleaning first if you’ve spotted mould in there. Give it the burn-off treatment and a proper scrub, and you’ll be starting the season with a clean slate, rather than cooking on something questionable.
A cover goes a long way between uses.
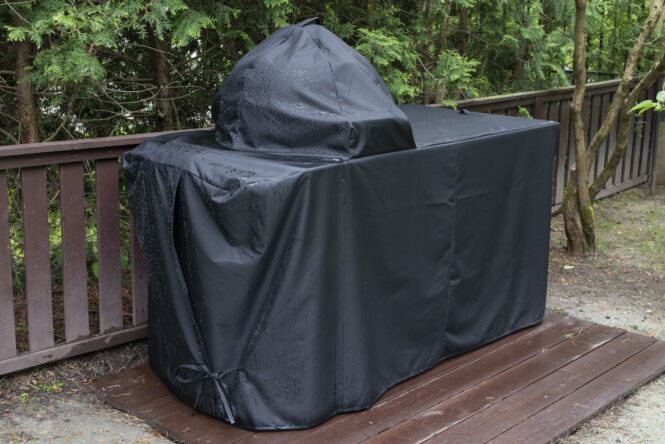
It’s not strictly part of cleaning, but it’s worth saying anyway. Keeping a cover on the barbecue when it’s not in use dramatically reduces how much work is needed at the start of the next session. Rain, leaves, birds, insects, all of it is kept out if there’s a fitted cover on top. Most barbecues come with one, or they can be bought cheaply, and using it consistently is one of the easiest things you can do to keep maintenance manageable.
A dry barbecue that’s been kept covered is much easier to clean than one that’s been sitting open through a wet week. If you’re in the habit of covering it every time you’re done, you’ll notice it stays in much better condition season to season.